Matcha Strawberry Cheesecake
2 November 2026
All crusted matcha strawberry cheesecake

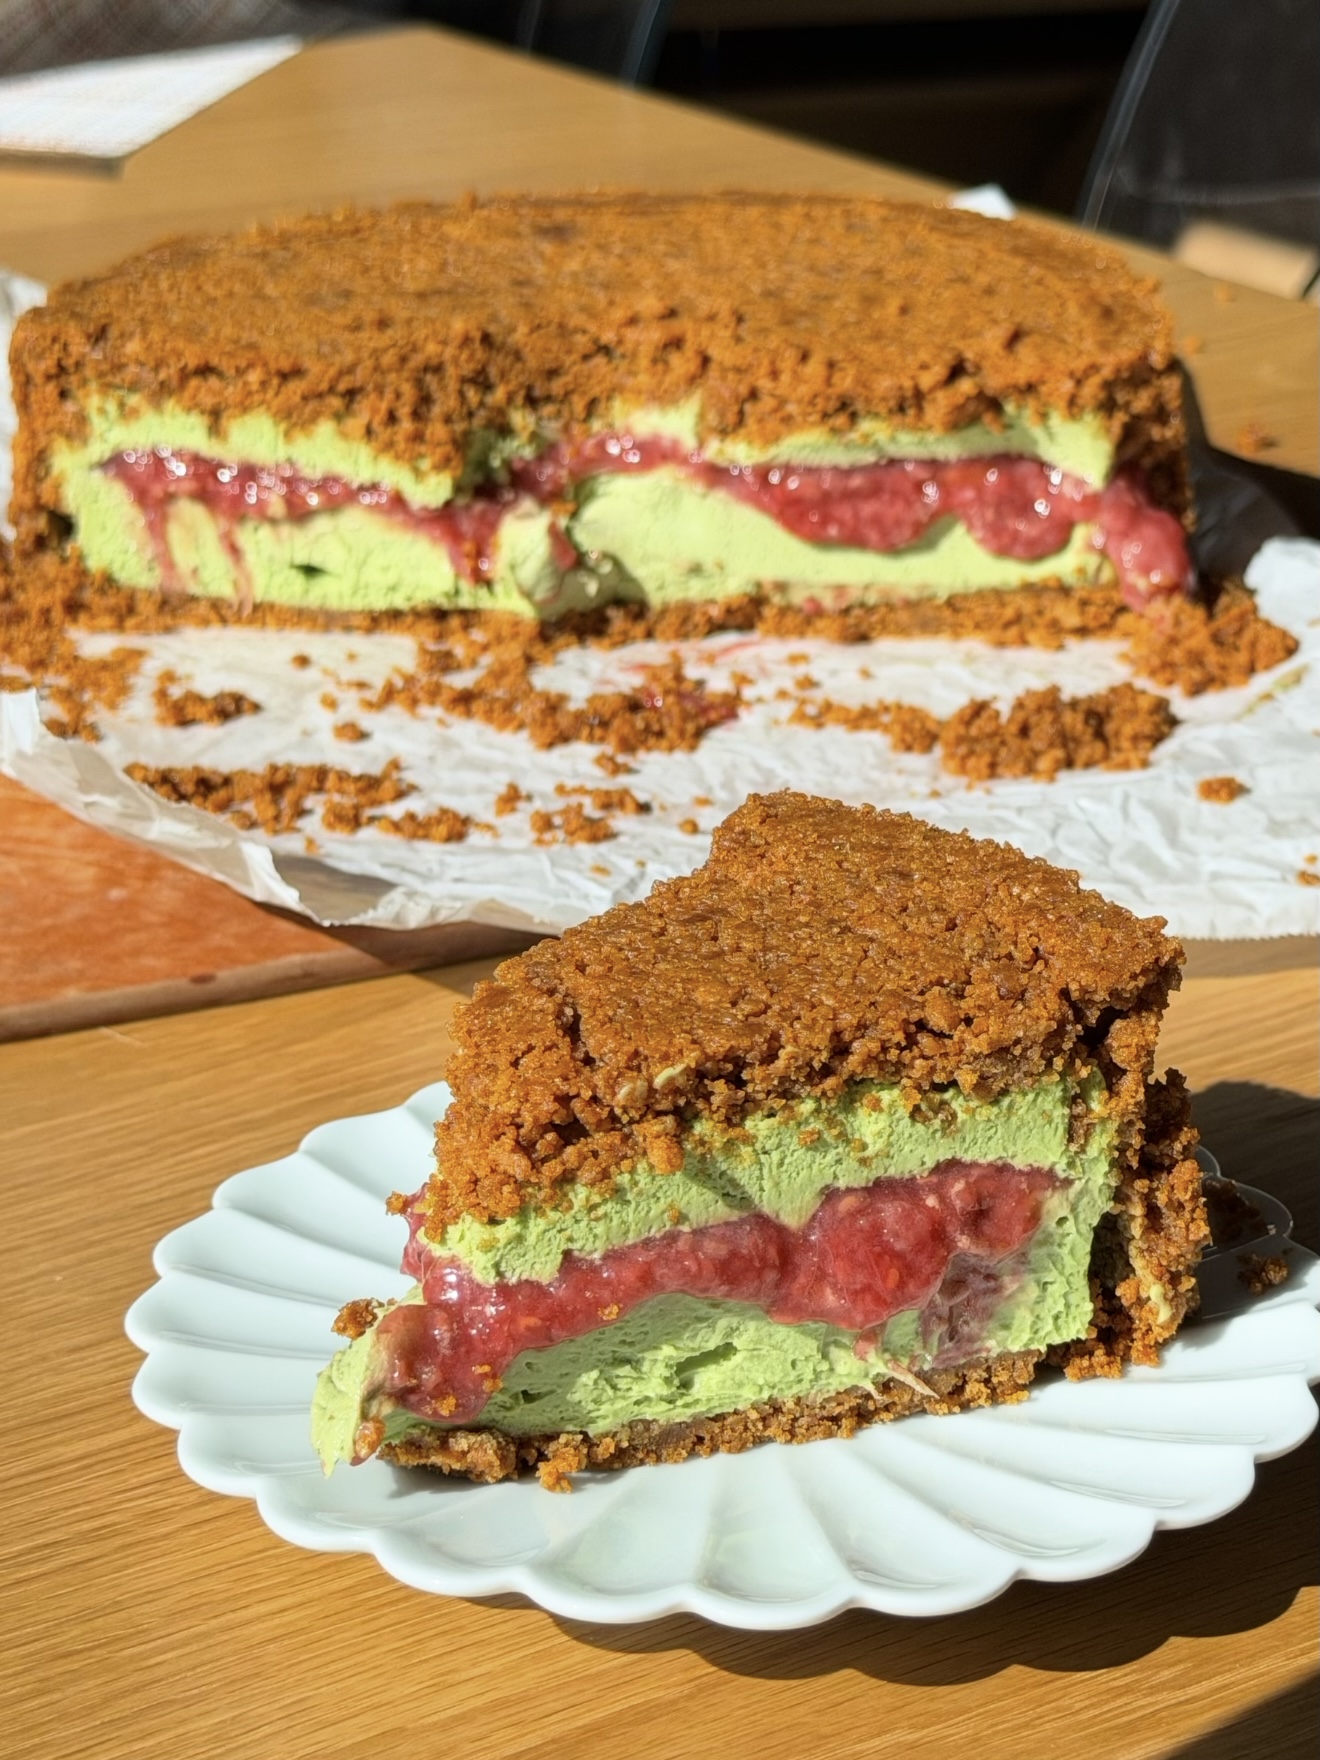
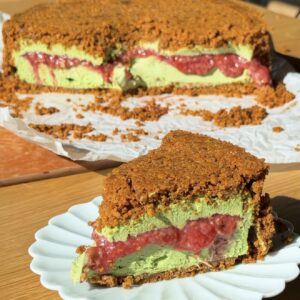
This matcha strawberry cheesecake is the fully crusted concept at its prettiest. A buttery Digestive biscuit crust wraps completely around a creamy matcha cheesecake filling with a ribbon of jammy strawberry and raspberry compote running through the middle. Flip it upside down, slice in, and you get a vivid green and pink cross-section. The earthy, slightly bitter matcha and the sweet-tart berries are a perfect match, and it’s far easier to make than it looks!
Understanding Your Components
- Double Biscuit Crust: Just like the other fully crusted desserts, you’re making both a base and a separate top disc from Digestive biscuits and butter, so the filling ends up completely sealed inside. Getting that “wet sand” texture right on both is key – press firmly and evenly so neither crust cracks when it’s time to unmould.
- Strawberry and Raspberry Compote: Strawberries and raspberries are simmered with sugar until syrupy, mashing some of the berries as they cook, then thickened with a cornstarch slurry so the compote holds its shape. Using both berries gives you sweetness from the strawberries and a tart punch from the raspberries, which balances the richness of the cheesecake. It needs to be completely cold and set before layering, otherwise it will bleed into the filling instead of forming a clean ribbon.
- Matcha White Chocolate Ganache: White chocolate and a splash of hot cream are poured over sifted matcha, left to sit, then stirred into a smooth ganache and chilled. The white chocolate softens the natural bitterness of the matcha and gives the filling body and structure so it sets firmly. Use a good quality culinary matcha, as it makes a big difference to both the colour and flavour. Cheap matcha can turn out dull and bitter.
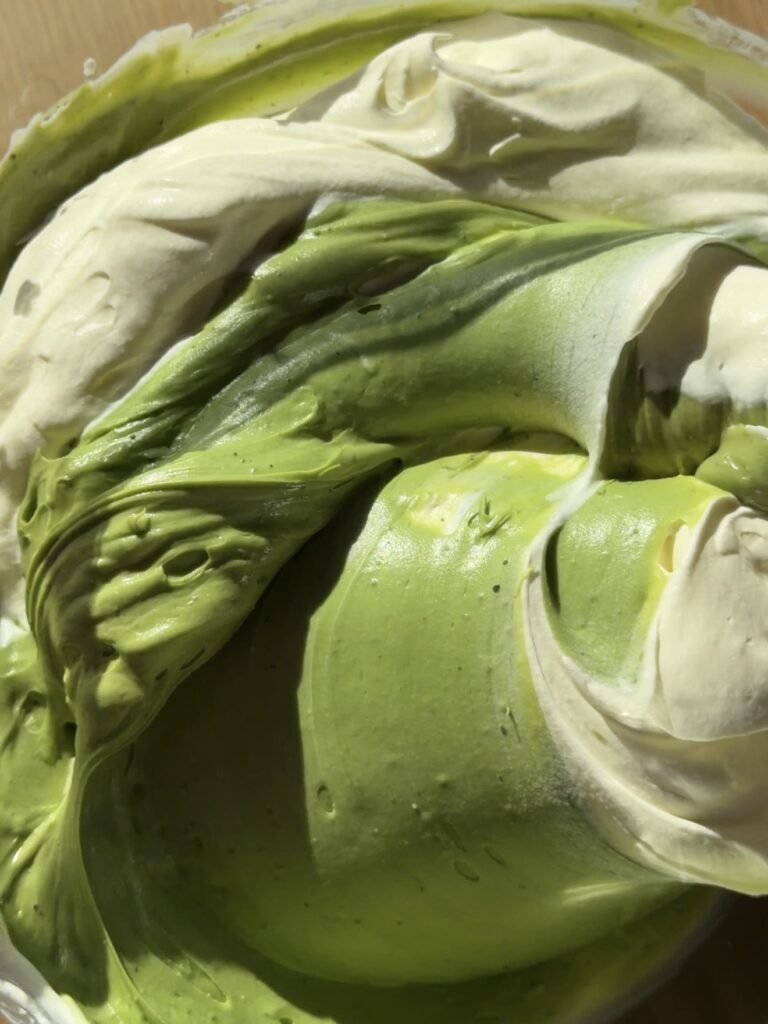
- Matcha Cheesecake Filling: Cream cheese, Greek yogurt and sugar are beaten until smooth, then the cooled ganache goes in, followed by cream whipped to stiff peaks and folded through. The yogurt adds a light tang, and the whipped cream keeps the filling airy and mousse-like instead of dense. It’s a no-bake filling, so everything relies on proper chilling to set.
Tips!
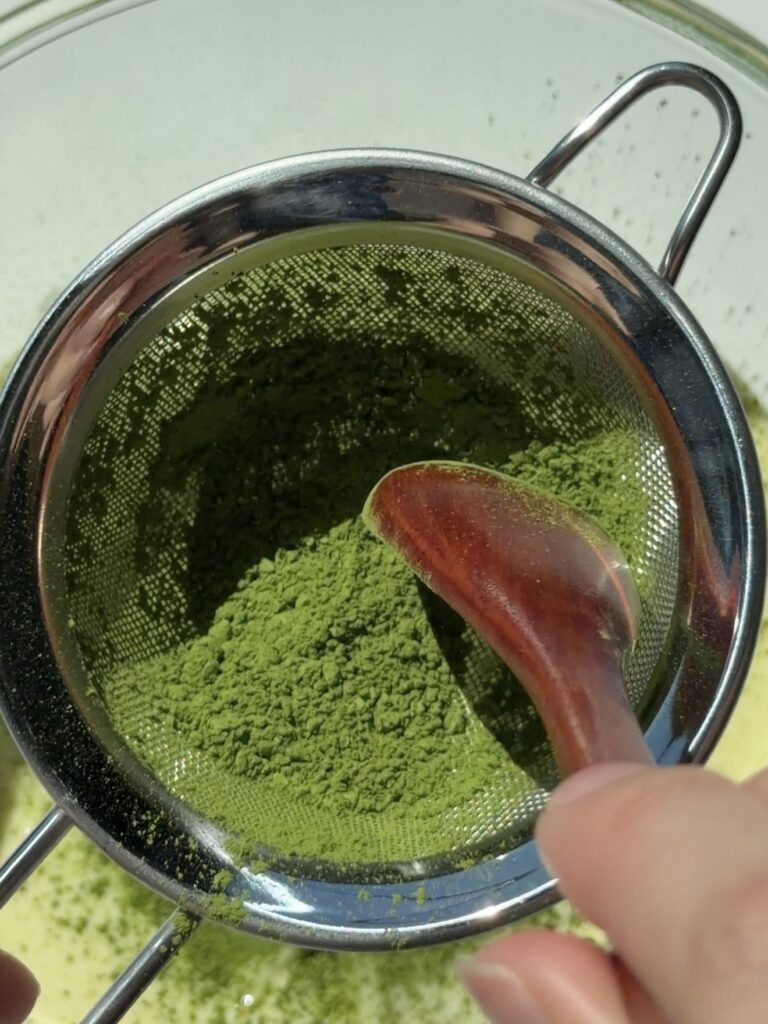
Sift the Matcha: Sift the matcha powder before adding it to the white chocolate. Matcha clumps easily, and sifting is the difference between a smooth, vibrant green ganache and one with bitter little lumps.
Use Good Quality Matcha: With 40 to 50g going into this recipe, the matcha is the main flavour. A bright green, quality culinary grade gives you a fresh, earthy taste, while a dull brownish powder will taste harsh.
Let the Ganache Sit: After pouring the hot cream over the white chocolate and matcha, leave it for 3 minutes before stirring. This lets the chocolate melt gently and gives you a smooth, glossy ganache.
Cool the Ganache Completely: Chill the ganache fully before adding it to the cream cheese mixture. A warm ganache can loosen the filling and stop it from setting properly.
Chill the Compote Until Cold: Give the compote at least an hour in the fridge. A cold, set compote creates that distinct pink ribbon, while a warm one will melt into the filling.
Whip the Cream to Stiff Peaks: The filling needs firm whipped cream to hold its structure, especially since it’s being flipped upside down. Fold it in gently with a spatula so you keep all that air.
Press the Top Crust Carefully: The top crust is formed separately on parchment paper and lifted over the filling as a lid. Press it firmly and evenly so it doesn’t crack during the transfer.
Full Overnight Set: Give it at least 8 hours, ideally overnight, before attempting to flip it. Because it’s unmoulded upside down, it needs to be completely set.
Torch the Edges to Unmould: If it won’t release cleanly from the springform tin, a quick pass of the blow torch around the outside will loosen it without disturbing the layers inside.
Slice with a Hot Knife: Dip your knife in hot water and wipe it clean between each cut for neat slices that show off the green and pink layers.
Storage and Reheating Guide
- Compote Storage: Store in an airtight container in the refrigerator for up to 1 week. It’s also great on yogurt, pancakes or ice cream.
- Matcha Ganache Storage: Best used straight away, but it can be refrigerated for up to 2 days. Let it soften slightly at room temperature before mixing into the cream cheese.
- Fully Assembled Cheesecake: Cover and refrigerate for up to 4 days. The matcha colour can fade slightly over time, so it looks best within the first 2 days.
- Freezing: Freeze the fully set cheesecake, wrapped tightly, for up to 1 month. Thaw overnight in the refrigerator before serving. The compote layer may release a little extra moisture after thawing.
- No Reheating Needed: Serve cold straight from the fridge, and let it sit for a few minutes at room temperature before slicing for cleaner cuts.
Make ahead tips:
- Compote Ahead: Make the compote up to 1 week ahead and keep it refrigerated. It’s one of the easiest components to get out of the way early.
- Crusts Ahead: Press and chill both the base and top crust up to 1 day ahead, keeping them covered in the fridge until you’re ready to assemble.
- Ganache Ahead: Make the matcha ganache the day before and keep it chilled, then bring it to a spreadable, room temperature consistency before mixing it into the filling.
- Build in Stages: Make the compote and ganache on day one, press the crusts and assemble on day two, and let it set overnight so it’s ready to flip on day three.
- Full Make-Ahead: Assemble the entire cheesecake up to 2 days before serving and keep it refrigerated. It’s a great centrepiece for gatherings because all the work is done in advance.
Ingredients
Biscuit Top:
250 g Digestive/Graham biscuits, crushed
90 g unsalted butter, melted
Biscuit Base:
500g Digestive/Graham biscuits, crushed
180 g unsalted butter, melted
Strawberry and Raspberry Compote
450g strawberries and raspberries, fresh or frozen
80g caster sugar
10ml cornstarch
10ml cold water
Matcha Ganache
200g white chocolate
60ml heavy cream
40 to 50g good quality culinary matcha powder, sifted
Cheesecake Filling
200ml heavy cream, whipped to stiff peaks
Matcha ganache (from above)
500g cream cheese, softened
100g Greek yogurt
40g sugar
Method – How to make Upside Down Strawberry Matcha Cheesecake
- Make the compote
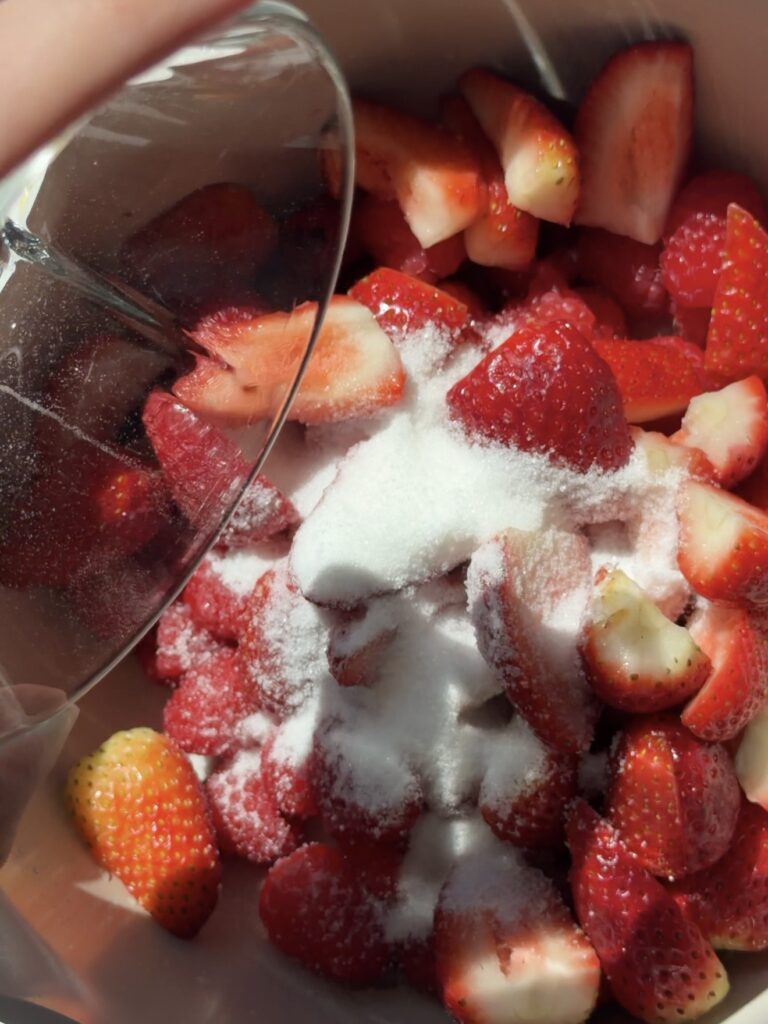
- Add the berries and caster sugar to a saucepan over medium heat. Simmer for 8 to 10 minutes, mashing some of the berries with the back of a spoon, until syrupy.
- Mix the cornstarch and cold water into a smooth slurry. Stir it into the simmering compote and cook for 1 to 2 minutes, until thick enough to coat the back of a spoon.
- Pour into a shallow dish and cool at room temperature, then chill in the fridge until fully cold and set, at least 1 hour.
- Make the matcha ganache
- Sift the matcha into a bowl and add the white chocolate.
- Heat the cream in the microwave in 1 minute bursts until hot.
- Pour the hot cream over the white chocolate and matcha. Leave for 3 minutes, then stir until smooth.
- Pour into a shallow dish and chill in the fridge until completely cool, at least 30 minutes.
- Make the biscuit top
- Mix the 250g biscuit crumbs with 90g melted butter until it looks like wet sand.
- Place a piece of parchment paper on a chopping board, then set your springform tin ring (without the base) on top.
- Pour in the crumbs, then spread and press down firmly into an even round.
- Carefully lift the tin ring away to reveal the pressed crust. Slide the board into the fridge to set.
- Make the biscuit base
- Mix the 500g biscuit crumbs with 180g melted butter until it looks like wet sand.
- Press firmly into the base and up the sides of your 23cm x 7cm springform tin.
- Chill while you make the filling.
- Make the cheesecake filling
- Beat the cream cheese, Greek yogurt and sugar with a hand mixer until smooth.
- Add the cooled matcha ganache and mix until combined.
- Fold in the whipped cream with a spatula until no streaks remain.
- Assemble
- Spoon half the cheesecake filling into the biscuit base and smooth it flat.
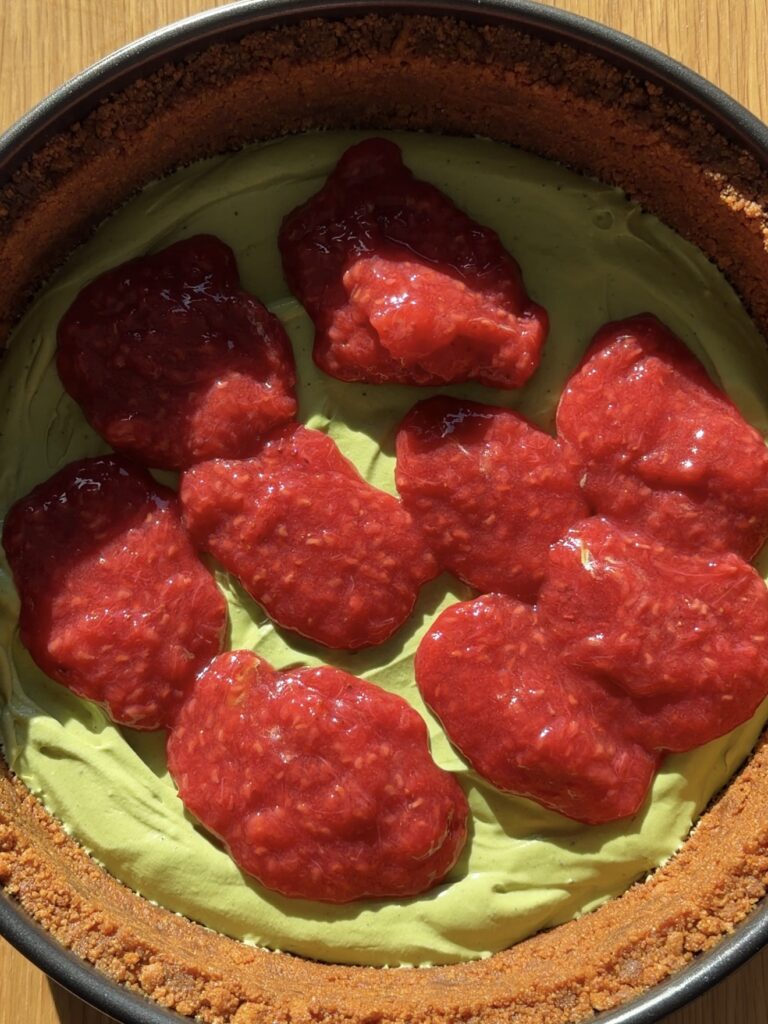
- Spread the cold, set compote over the top, leaving a small border at the edge.
- Add the remaining cheesecake filling and smooth the top.
- Place the biscuit top over the filling to close the cheesecake.
- Refrigerate for at least 8 hours, ideally overnight, until fully set.
- Flip and serve
- Place a chopping board or serving platter on top of the cheesecake and flip it upside down.
- Release the cheesecake from the springform tin. If it’s stubborn, lightly heat the outside of the tin with a blow torch.
- Slice with a hot, clean knife, wiping it between cuts, to show off the green and pink layers.
Strawberry Matcha Cheesecake
Ingredients
Biscuit Top
- 250g digestive biscuits or graham crackers, crushed
- 90g unsalted butter, melted
Biscuit Base
- 500g digestive biscuits or graham crackers, crushed
- 180g unsalted butter, melted
Strawberry and Raspberry Compote
- 450 g raspberries & strawberries, fresh or frozen
- 80 g caster sugar (for compote)
- 10 ml cornstarch
- 10 ml cold water (to mix with cornstarch)
Matcha Ganache
- 200g white chocolate
- 60ml heavy cream
- 40 to 50g good quality culinary matcha powder, sifted
Cheesecake Filling
- Matcha ganache (from above)
- 500g cream cheese, softened
- 100g Greek yogurt
- 40g sugar
- 200ml heavy cream, whipped to stiff peaks
Instructions
Make the compote
- Add the berries and caster sugar to a saucepan over medium heat. Simmer for 8 to 10 minutes, mashing some of the berries with the back of a spoon, until syrupy.
- Mix the cornstarch and cold water into a smooth slurry. Stir it into the simmering compote and cook for 1 to 2 minutes, until thick enough to coat the back of a spoon.
- Pour into a shallow dish and cool at room temperature, then chill in the fridge until fully cold and set, at least 1 hour.
Make the matcha ganache
- Sift the matcha into a bowl and add the white chocolate.
- Heat the cream in the microwave in 1 minute bursts until hot.
- Pour the hot cream over the white chocolate and matcha. Leave for 3 minutes, then stir until smooth.
- Pour into a shallow dish and chill in the fridge until completely cool, at least 30 minutes.
Make the biscuit top
- Mix the 250g biscuit crumbs with 90g melted butter until it looks like wet sand.
- Place a piece of parchment paper on a chopping board, then set your springform tin ring (without the base) on top.
- Pour in the crumbs, then spread and press down firmly into an even round.
- Carefully lift the tin ring away to reveal the pressed crust. Slide the board into the fridge to set.
Make the biscuit base
- Mix the 500g biscuit crumbs with 180g melted butter until it looks like wet sand.
- Press firmly into the base and up the sides of your 23cm x 7cm springform tin.
- Chill while you make the filling.
Make the cheesecake filling
- Beat the cream cheese, Greek yogurt and sugar with a hand mixer until smooth.
- Add the cooled matcha ganache and mix until combined.
- Fold in the whipped cream with a spatula until no streaks remain.
Assemble
- Spoon half the cheesecake filling into the biscuit base and smooth it flat.
- Spread the cold, set compote over the top, leaving a small border at the edge.
- Add the remaining cheesecake filling and smooth the top.
- Place the biscuit top over the filling to close the cheesecake.
- Refrigerate for at least 8 hours, ideally overnight, until fully set.
Flip and serve
- Place a chopping board or serving platter on top of the cheesecake and flip it upside down.
- Release the cheesecake from the springform tin. If it’s stubborn, lightly heat the outside of the tin with a blow torch
- Slice with a hot, clean knife, wiping it between cuts, to show off the green and pink layers.