Brown Butter
10 July 2022
Not for the weak-hearted. Literally.
Let me share this magical kitchen technique that transforms everyday butter into something extraordinary. While it might seem counterintuitive to “cook” butter, this process creates a nutty, complex flavor that elevates any dish it touches.
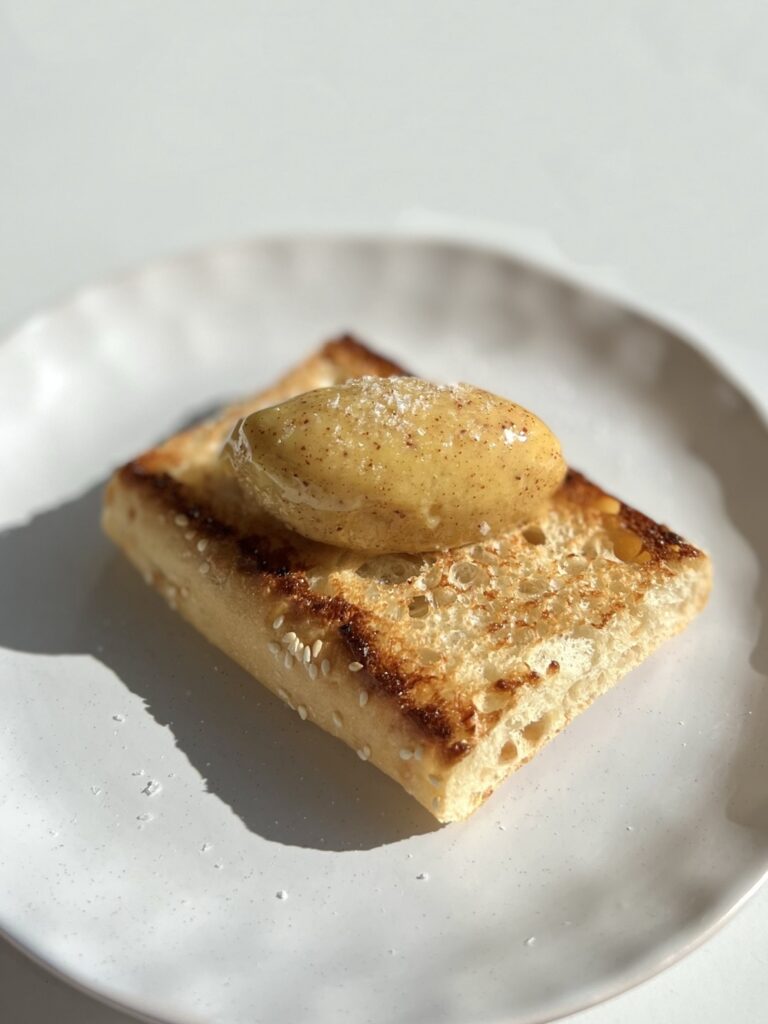
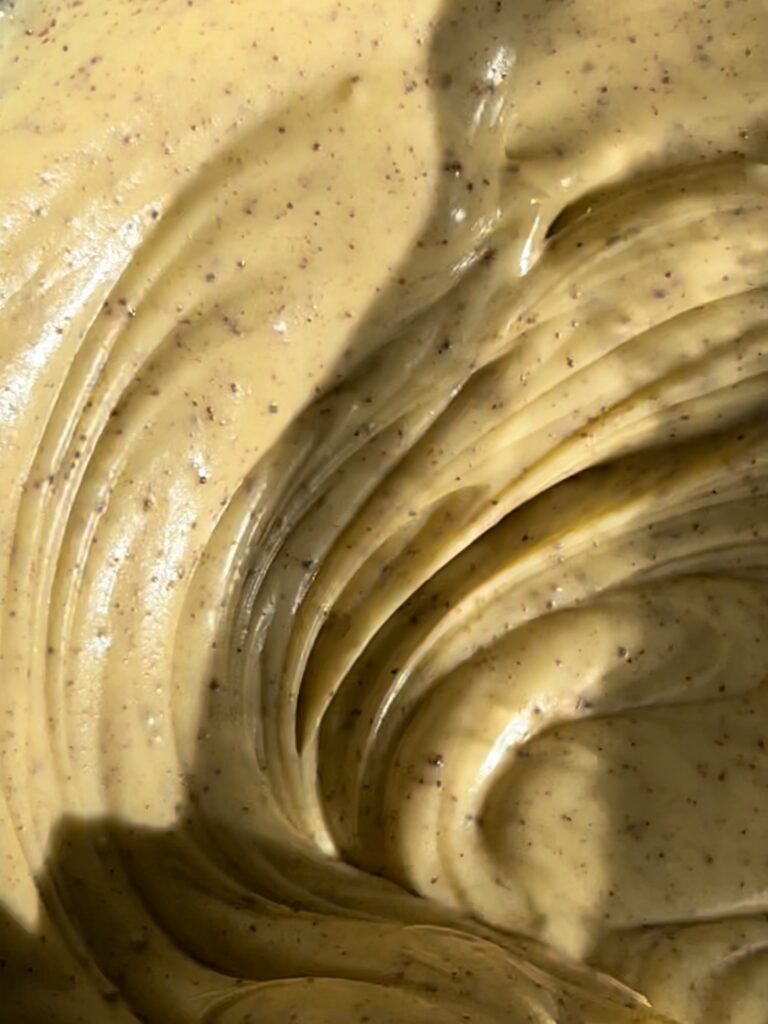
This is BROWN butter. The process of browning the butter is essentially cooking the butter to its further point before burning, and this brings out the nuttiness of the butter. The nuttiness adds another complexity to the butter, giving it a different smell and taste. It’s great in chocolate chip cookies or just on toast with a sprinkly of flaky sea salt. Trust me, you won’t view butter the same way again.
Why This Recipe Works
The slow transformation of butter’s milk solids creates deep, complex flavors that regular butter can’t match. The controlled browning process, followed by rapid cooling, ensures perfect texture and maximum flavor development.
Understanding Your Components
- Butter:
- Highly recommend you to use unsalted butter, that way you can control the salt content later, or you could also have the option to finish off your quenelle of butter with a sprinkle of sea salt at the end.
- Quality matters significantly. Since there’s only 1 ingredient, i suggest using good quality butter for this!
- Browning Process: the transformation happens in distinct stages
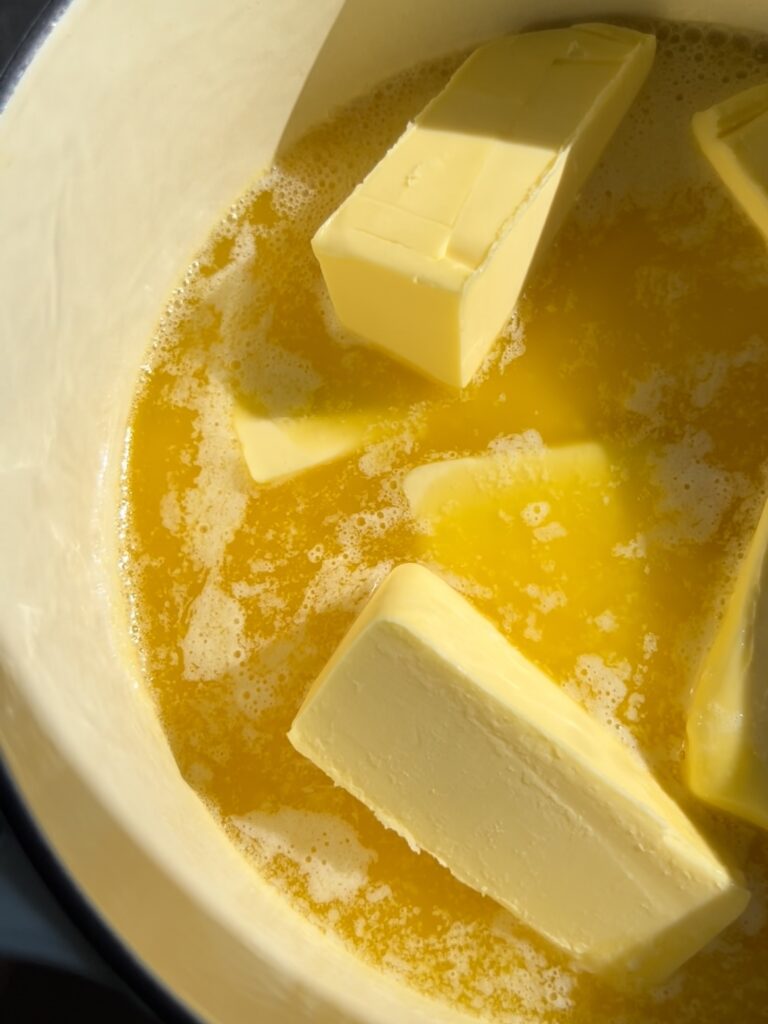
- Melting stage transforms butter from its solid form into a liquid
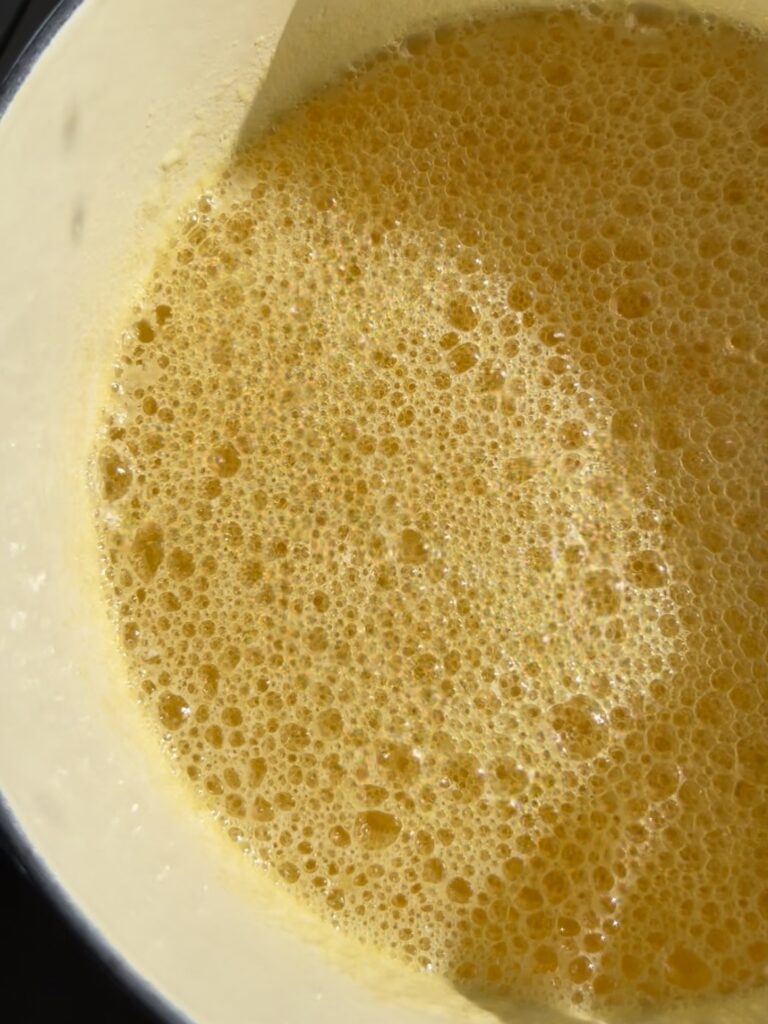
- Foaming indicates water evaporation
- Bubbling shows active browning
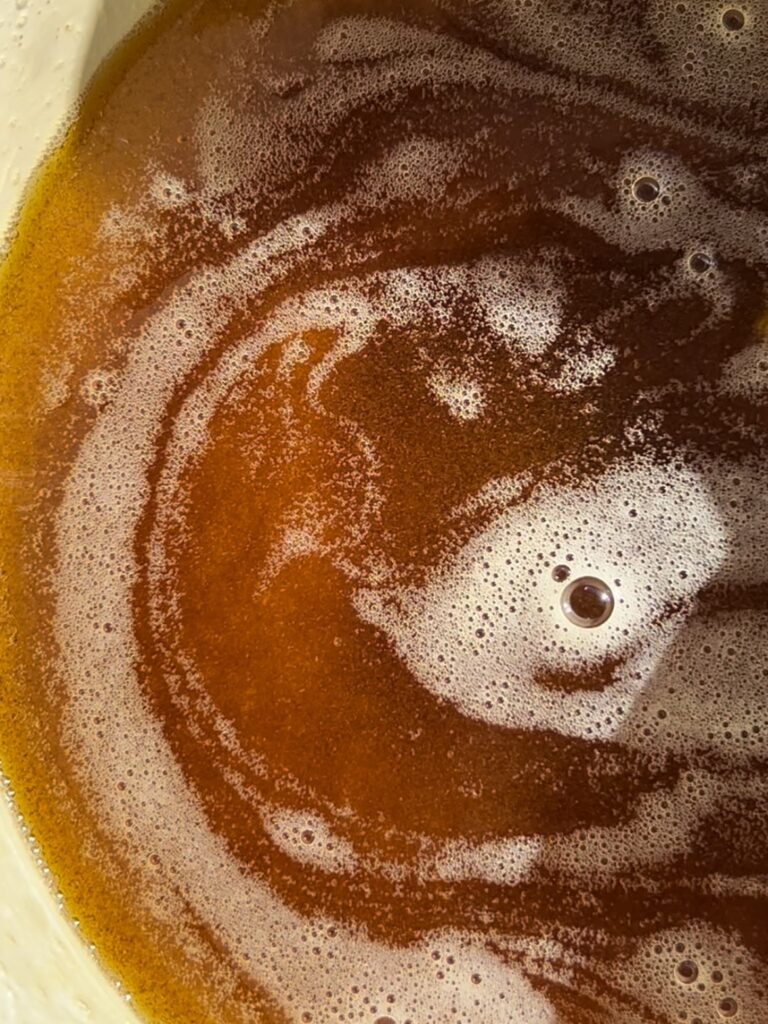
- Colour changes progressively
- Aroma becomes nutty
- Gentle heat is key to prevent your butter from burning quickly in the colour change stage.
- The Cooling Process:
- Proper cooling creates ideal texture
- Ice bath stops the butter from cooking and prevents it from burning
- Constant whisking essential to create an airy whipped texture
Tips
- Use light-colored pan/pot so you can see the colour of the milk solids better and know when to take it off the heat
- Keep heat moderate. Nice and slow is better as it gives you more control and time to take it off the heat before burning it.
- Stir constantly for even colouration. Never leave unattended
- Prepare ice bath ahead of time
Storage Tips!
- Keep refrigerated. Use within 2 weeks
- Can freeze up to 3 months
- Store in airtight container
- Let soften before using, whip it up if desired
Remember: Success comes from patience and attention. Don’t rush the browning process!
Ingredients
500g unsalted butter (or use as much as you need)
Salt
You could also make your butter from scratch which I do have a recipe on how you could do that. Just search for “Homemade Butter”!
Method
In a pan over medium heat, melt your butter and let it simmer and brown. Go low and slow, don’t leave the stove as it can easily burn. You want to see brown sediments in the butter (you’re essentially browning the fat solids). This process should take around 20 mins.
The browning stages: melty > foamy > bubbly. Stir constantly so you can see underneath the bubbles whether it’s browned. Also, DO NOT leave your stove. During the browning stage, it can get burnt very quickly! So watch it, bestie.
Once browned, transfer over to a bowl over ice. Whisk constantly as the butter hardens. This process takes around 10 minutes, be prepared for an arm work out.
Serve on toasted bread with flaky salt.
Brown Butter
Ingredients
- 500 g unsalted butter
- flaky salt
Instructions
- In a pan over medium heat, melt your butter and let it simmer and brown. Go low and slow, don’t leave the stove as it can easily burn. You want to see brown sediments in the butter (you’re essentially browning the fat solids). This process should take around 20 mins.
- Once browned, transfer over to a bowl over ice. Whisk constantly as the butter hardens.
- Serve on toasted bread with flaky salt.